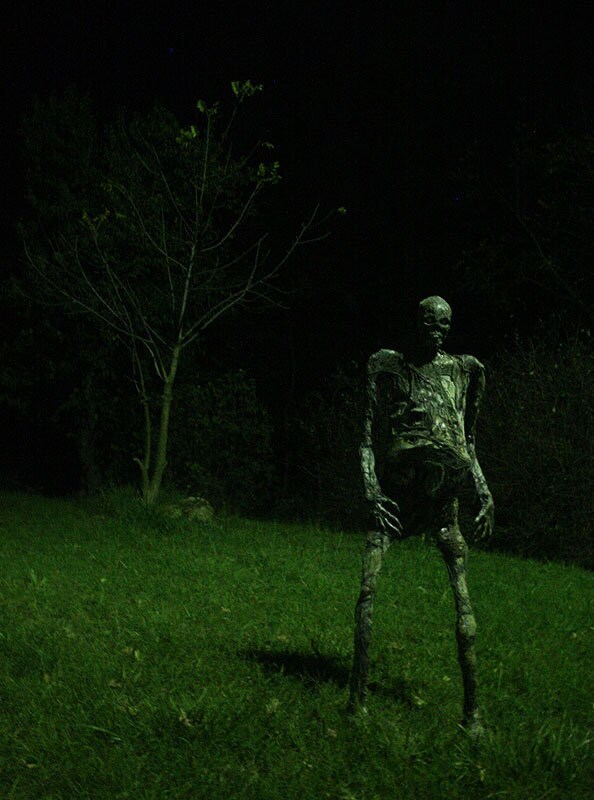
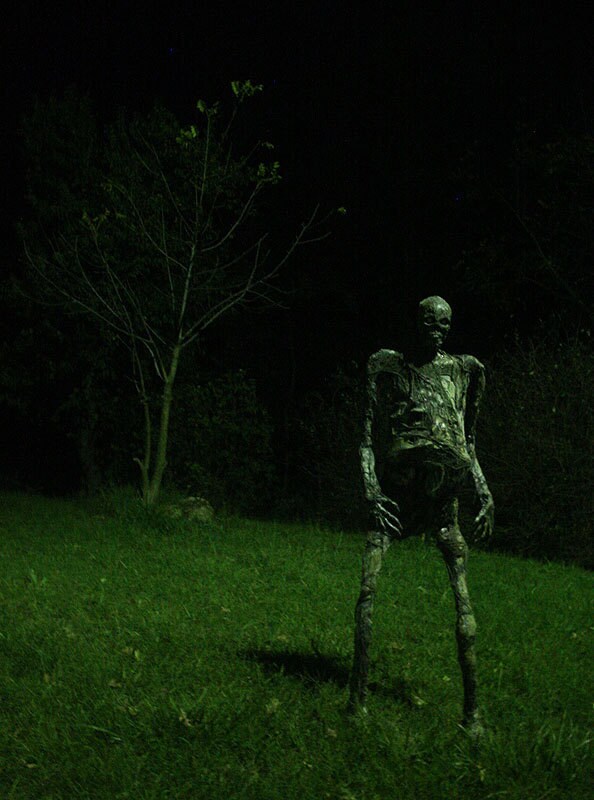
Ok, to business. The full sized zombie. The goal here, like before, was to have a posable static prop for photography, and as a haunt prop. Also with this guy, I wanted him free standing, all or mostly all on his own.
So to begin. For this guy to stand on his own, I knew that the flexible wire braid spine from the last one wouldn't work here. So he has a full pvc spine, cut an assembled that same way. Again I used the heat gun to heat and bend the pipe into the spinal curve shape. This is most important, not just for looks. Bending it this way changes his center of gravity to be over the legs once the ribcage is on, like it does with a human. If it where left straight, it would fall forward and never balance.
Also, I have to mention, for those who may not know about it, this web tool is great for calculating out the length of your pipe for the right proportions of a humanoid figure. Also has calculators for bat wings and spiders and other fun stuff. Bookmark it! https://hpc.anatomy4sculptors.com/
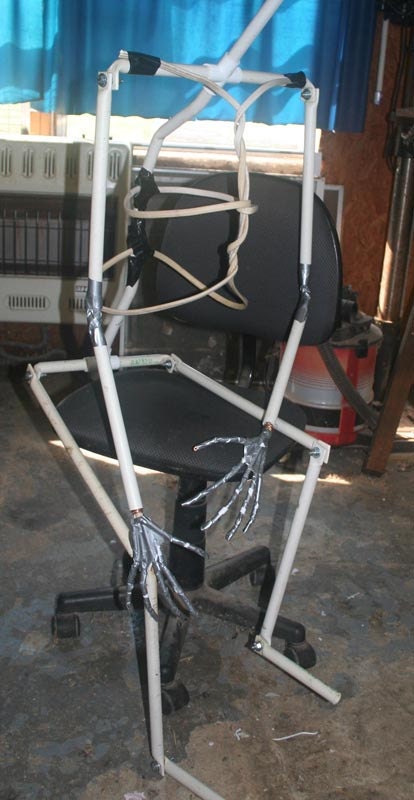
And the image of the spine.
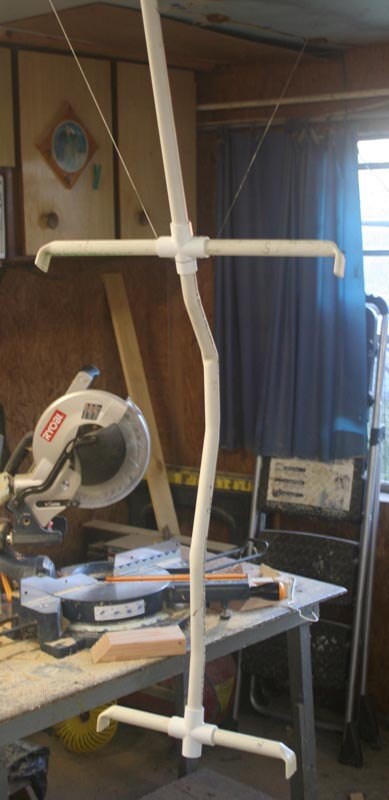
And here is the completed frame. I used the same method for the arms here as I did the first guy, so nothing new there. I did basically the same with the legs, flattened pvc bolted together with lock washers. As you see, its got a good range of motion so far.
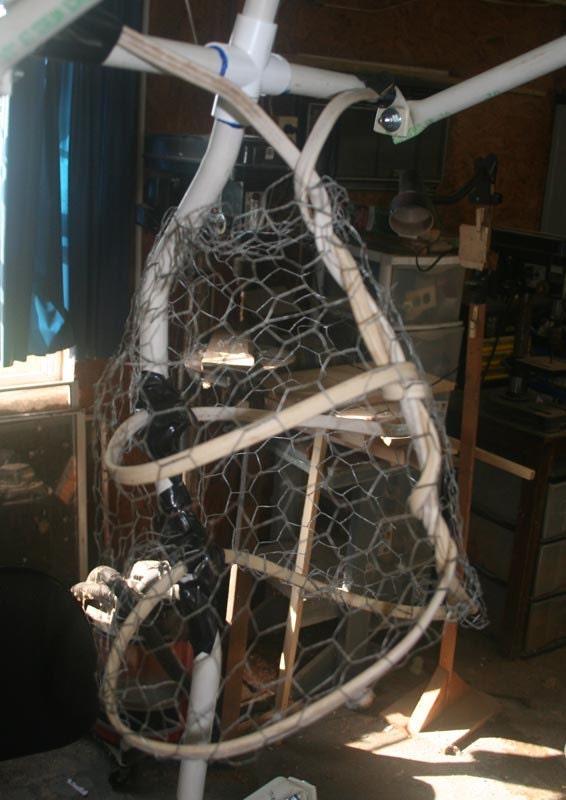
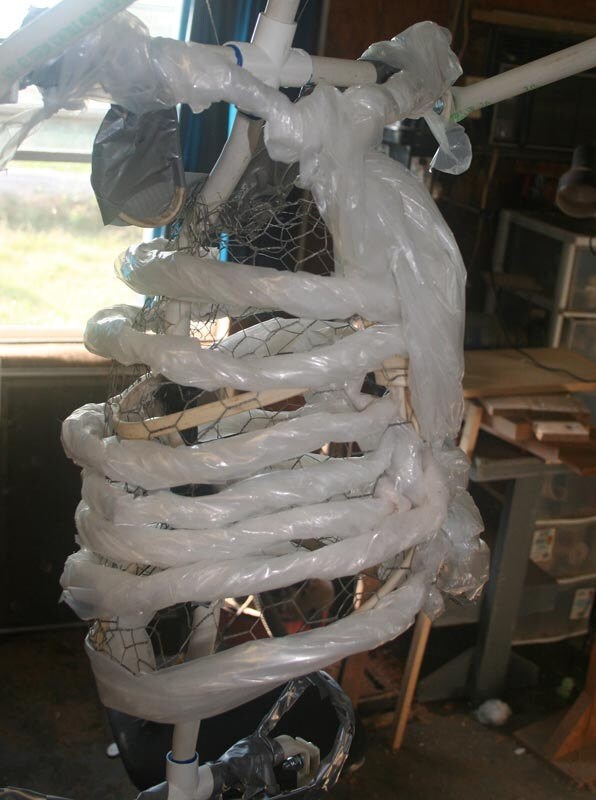
The the ribcage. After doing the first one, I felt was I did was overkill as most was not visible in the final result. So, instead on this guy, I made the basic shape with old 12/2 wire, and covered with chicken wire to support the plastic later.
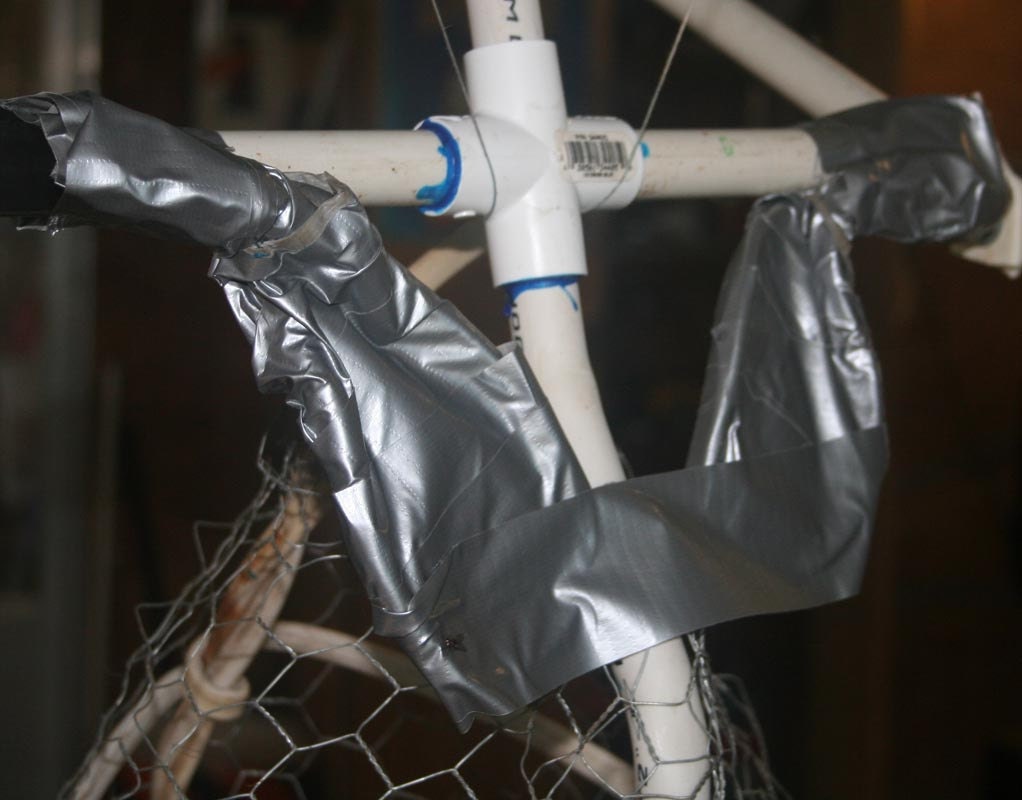
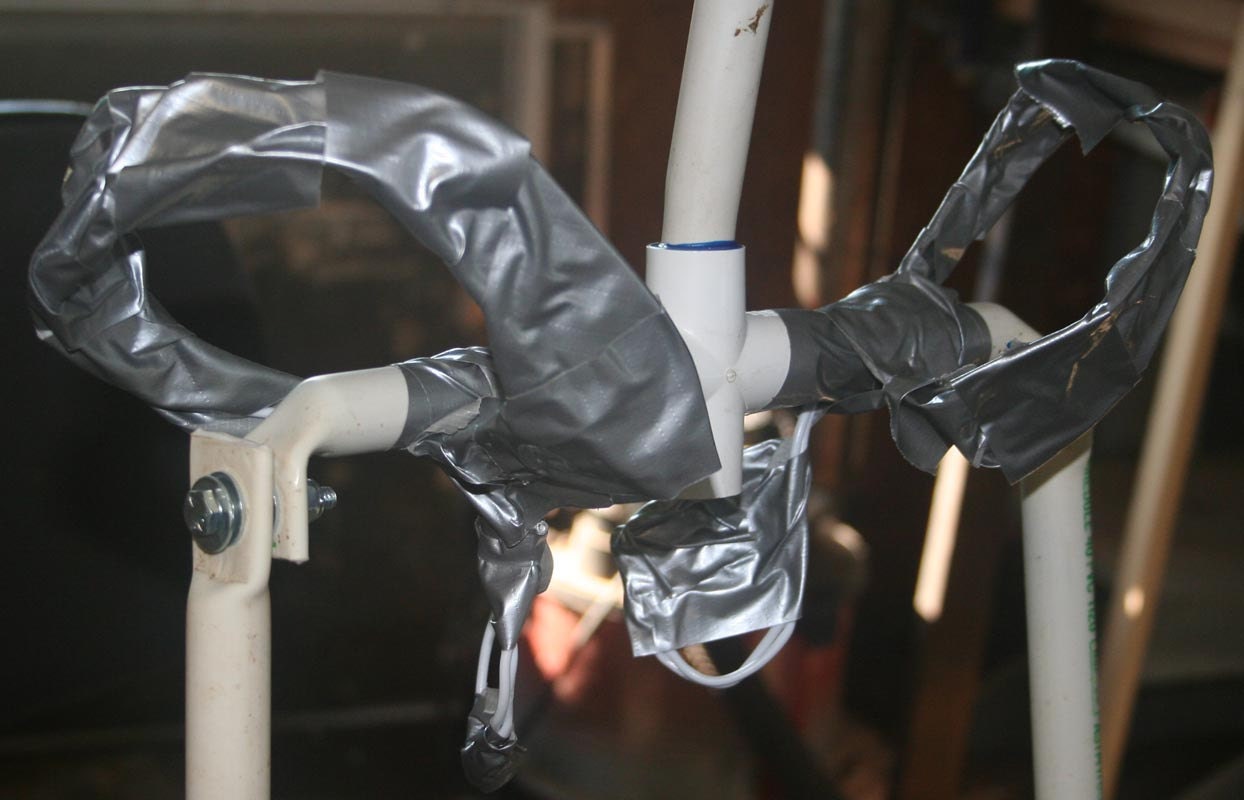
Here is the shoulder blades. Twisted wire into the basic shape, filled in with duck tape. Ahhhhhh... duck tape. Ahem, anyhow...
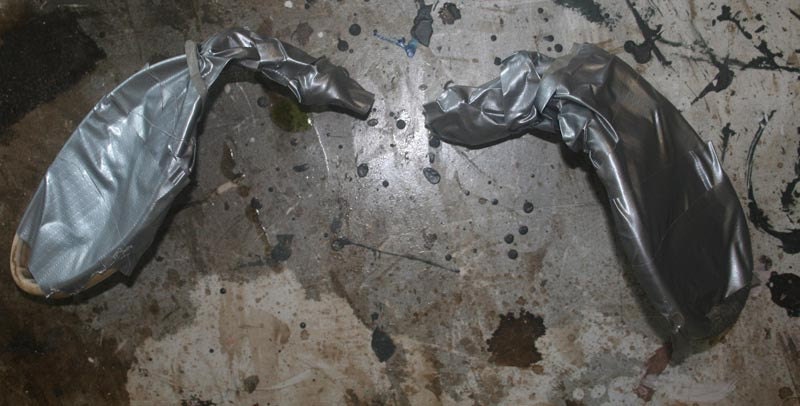
The Pelvis. took two closet hangers, bent them into kinda question mark shaped thingies, and duck taped them on. All i can say at this point is have a reference and make up the basic shapes with what you have. All you really need to worry about here is that you have that bowl shape that the human pelvis has.
At this point I started using sheet plastic for the rest of the underlying form. I'd cut it off in foot wide strips a few feet long, and twist it into ropes. I'd wrap it around and tie it to the frame at the ends. I did this for the ribs, and also for the bones of the for arm. I then too the heat gun to this. As the plastic in the rope shape is rather thick, it doesn't sag was much as just the sheet, and becomes kinda rigid once cool. And it doesn't matter how pretty it looks, as sheet plastic corpsing is going over it anyway.

And, at last the corpsing. Stiltbeast method like before, but as I mentioned before, I saved myself a munch of time by using black garbage bags, and skipping the set of spray painting.
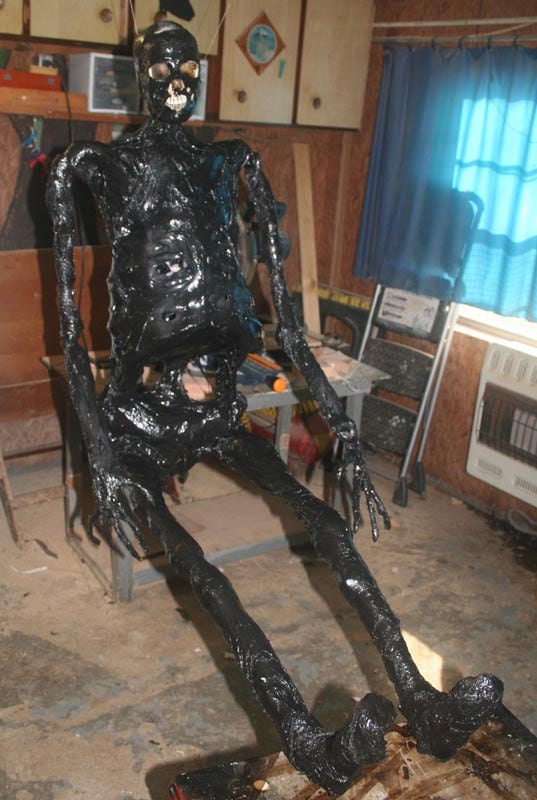
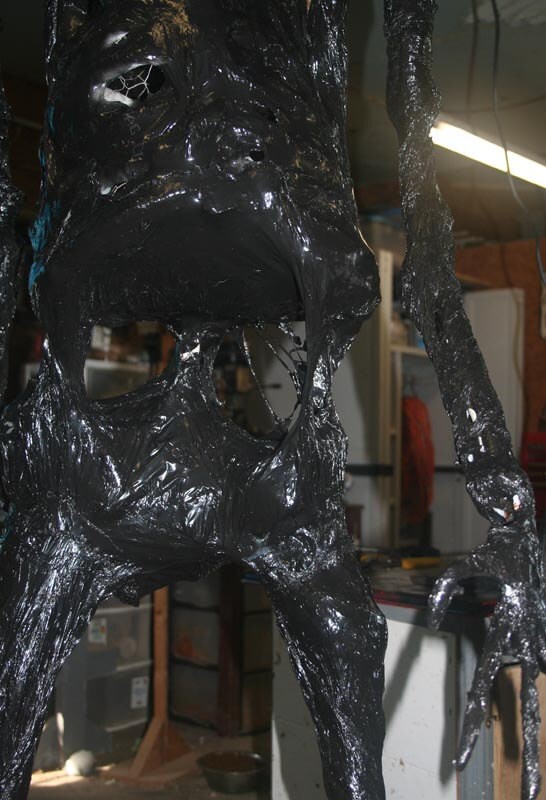
Then came the glue-paint soaked cheesecloth-webbing. Just like before.
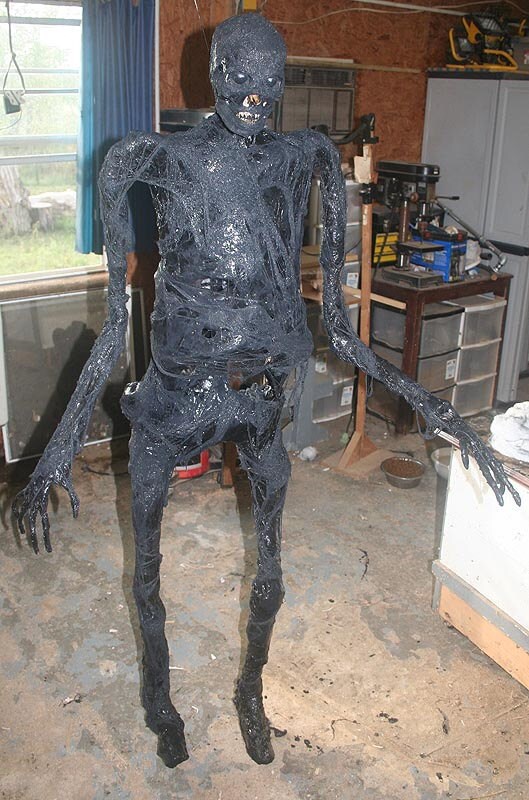
And paint. same method as done before.
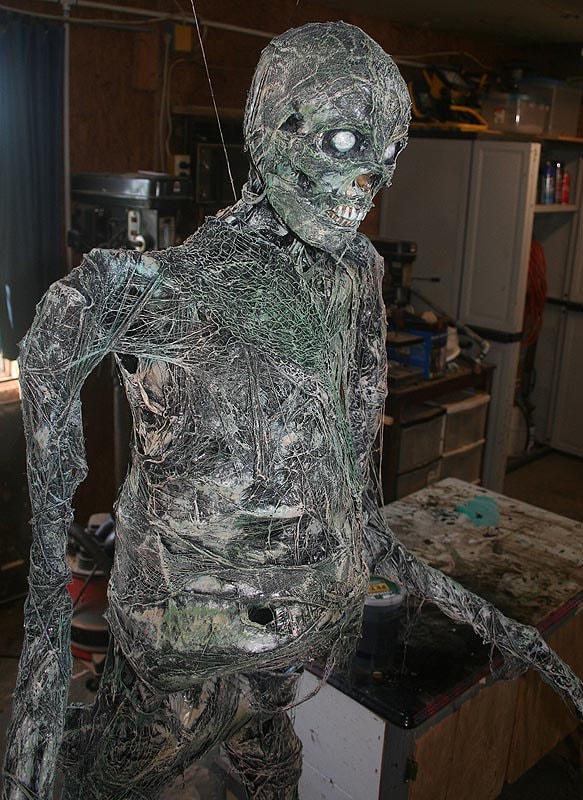
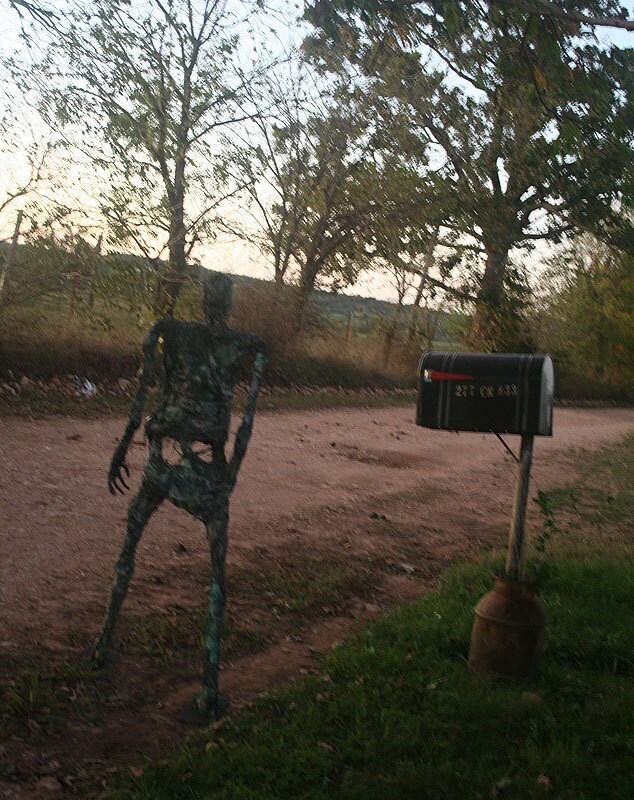
And some test shots! First one, standing outside. To give him more stability, (soft breeze kept knocking him over) I attached a piece of scrape plyboard to each foot to give it a wider base, and stacked him to the ground though said boards with six inch nails. That did the trick. It will stand on his own!
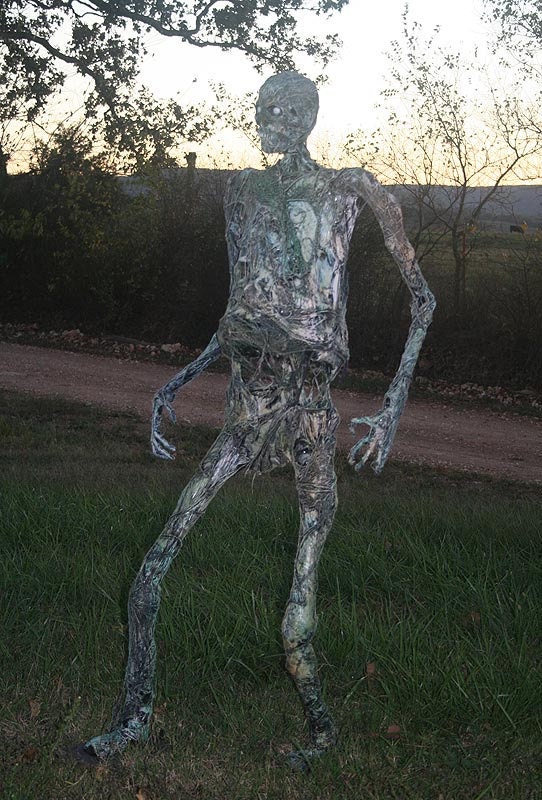
Here he is lurking around the road, and in the yard. "There is a zombie on the lawn, doo-bee-do-be-dooo..."
